Create a Public HTTP Endpoint
Connect your application’s API endpoint to Maxim. Enter your API URL and add any necessary headers and parameters. Configure the payload for your API request. Include all data your backend needs to process requests. When running tests, attach a dataset to your endpoint. Reference column values from your dataset using{{column_name}} variables. These resolve during test runtime. Use variables in headers and parameters for flexible endpoint configuration.
See it in action:
Variables in HTTP Endpoints
Variables let you parameterize requests and manage dynamic values. Maxim provides two ways to work with them.Using Variables in Request Body and Headers
Use{{variable_name}} syntax to substitute dataset column values directly in your endpoint configuration:
Using Variables in Scripts
In workflow scripts, access and manage variables programmatically using themaxim API:
Managing Variables in the Editor
Configure and preview variables in the Variables tab of the HTTP endpoint editor. This tab shows all variables and lets you add values for single-turn tests and verify their usage in the endpoint.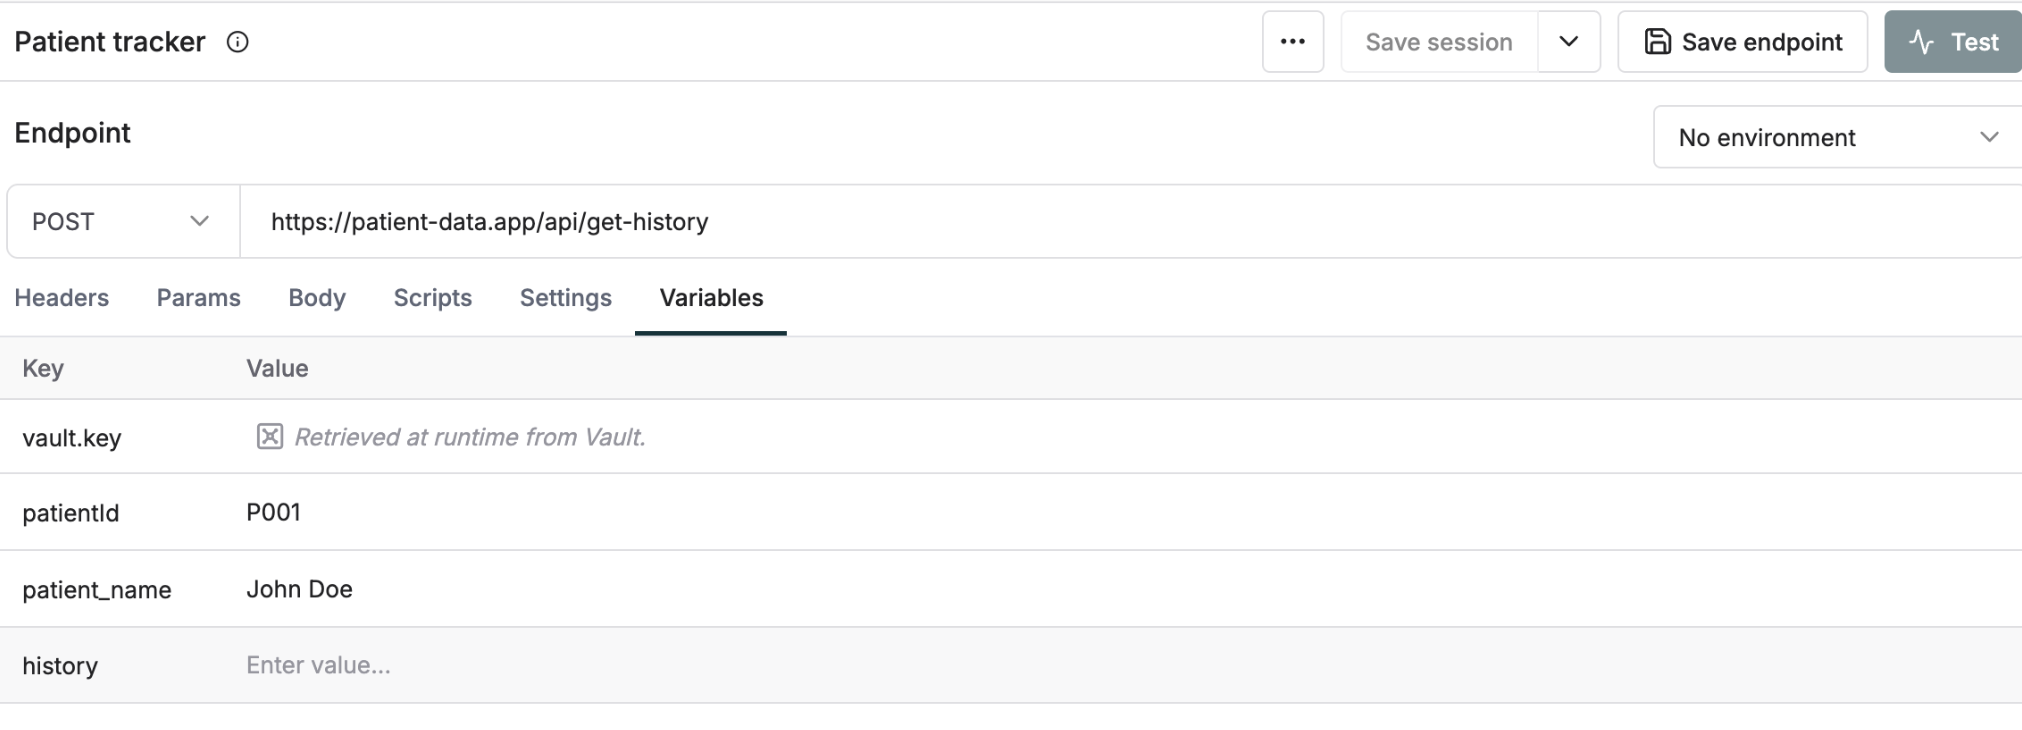
Test Your Endpoint
Send messages to your API from the Messages panel to test your endpoint with a conversational experience. See this demonstrated at the end of the video above.Map the Output for Evaluation
Before running tests, tell us what part of your response to evaluate by mapping anoutput from the response payload.
Click the Test button in the top right corner to open the Test run configuration panel. Select your Output from the dropdown of mappable response fields. View the full response payload by clicking Show response. Optionally, map the Context to Evaluate field using the Context field selector.
See how to map outputs for evaluation:
Test Multi-Turn Conversations
Real conversations create fascinating puzzles because:- Testing single responses doesn’t reveal the complete interaction pattern
- Just like human conversations, AI chats can take unexpected turns
- When something goes wrong, you need to replay the conversation - but what if you could change history?
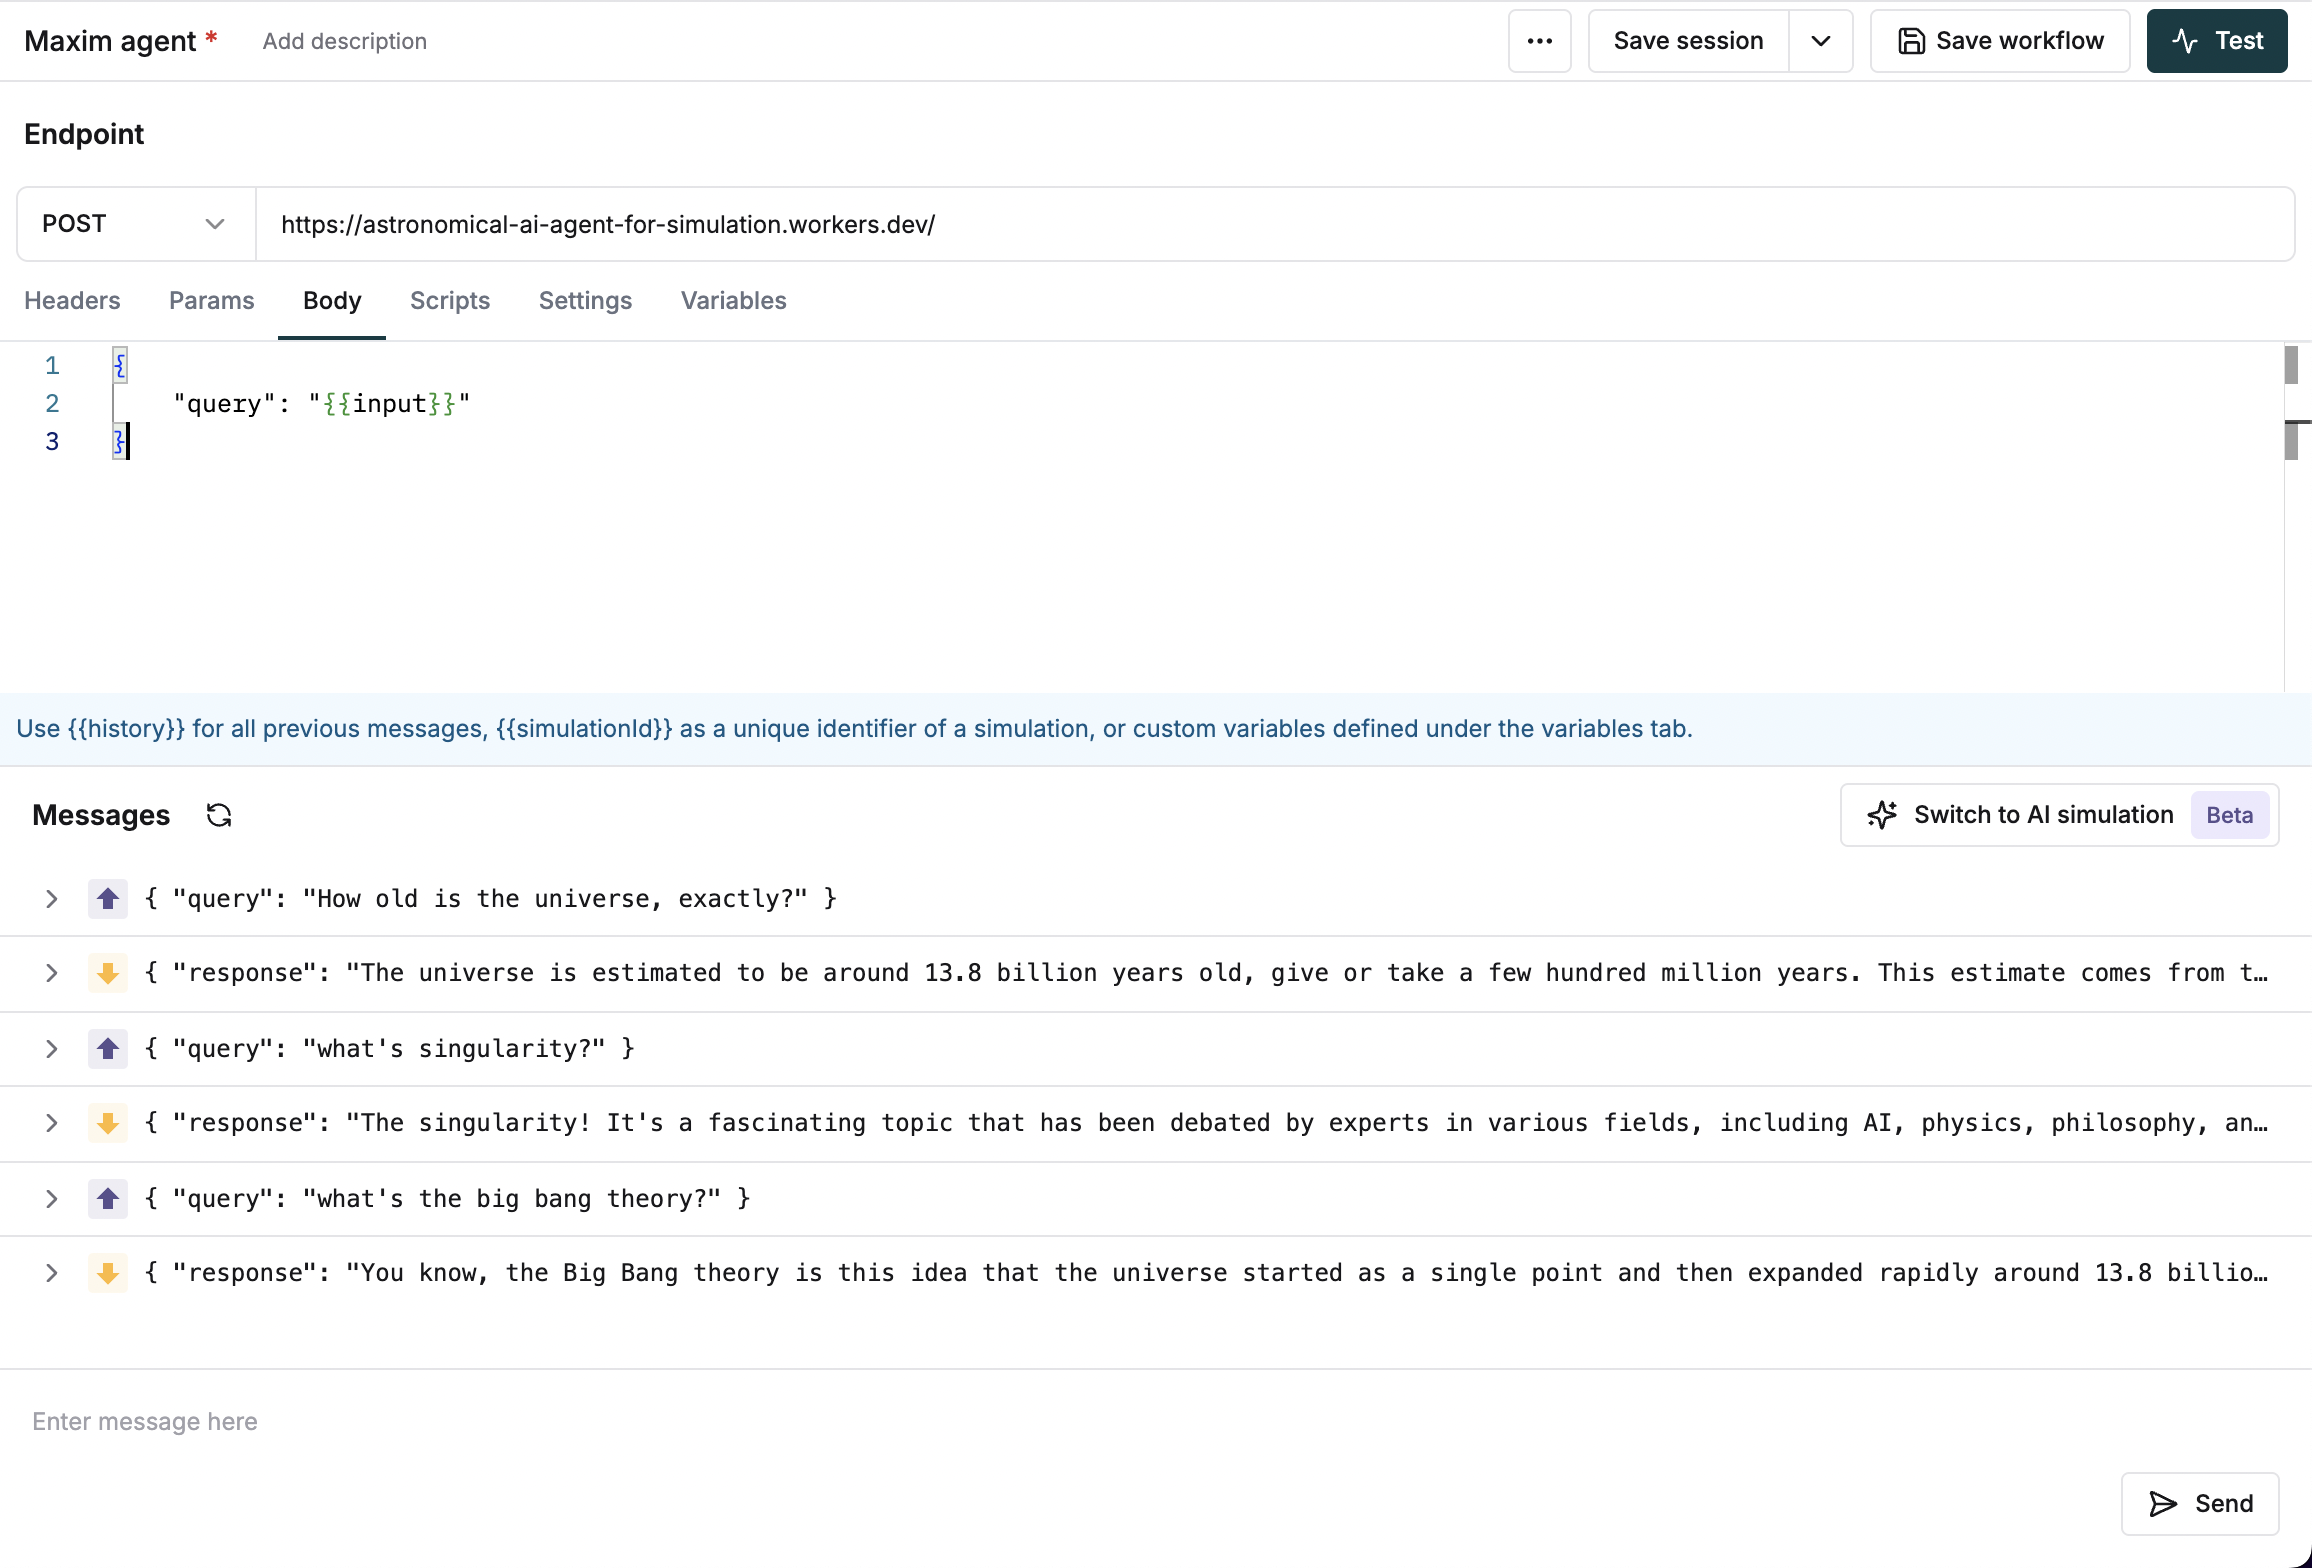
Configure Your Endpoint for Conversations
Before testing conversations, you need to configure your endpoint:- Enter your AI endpoint URL (e.g.,
https://astronomy-ai.example.com/chat) - Configure the request body
Your application receives and processes messages correctly with this configuration.
Start a Conversation
- Type your initial message in the input field
- Click Send to start the conversation
Edit and Modify Conversations
You can manipulate the conversation to test different scenarios:- Delete Messages: Remove any message from the conversation history to test how your AI handles modified contexts
- Edit History: Change previous messages to simulate different conversation paths
Example Usage
Here’s a typical endpoint for testing multi-turn conversations:-
Start with a simple query:
-
Follow up with related questions:
Schedule a demo to see how Maxim AI helps teams ship reliable agents.